


APF-R latest news: Workshops for APF-R are planned for Italy and Germany. Dates will follow soon!
what is APF-R
This process was designed and implemented by Christoph Kaltseis (me) over the last years. The basis is a simple, but important question: What does a really sharp picture look like? APF-R delineates this step in image processing in a new way.
Numerous processes claim to master this topic, but in all cases, compromises have to be made. Each image is dependent on numerous factors, especially in astrophotography. My motivation was to get the maximum out of each picture. On the way to an APF-R picture, it is important to make the first step as thorough as possible. This first step is crucial: It determines what details will be visible in the final image.
Visual Components:
Sharpness is an impression that is perceived differently. That is why the result is fine-tuned in the last step of the APF-R process. APF-R cannot be done with in a single, universal command, so I recommend a step-by-step approach. "Why this?" you may ask now. APF-R is a very flexible method that can be matched precisely to any fineness. Each step is a procedure conceived by your experience with your own imaging system: if you match it perfectly, the final result will be superior. For daylight images, the first step is also one of the most important ones in the process. Each lens and camera behave differently - so different pictures do not always deliver the same accuracy and quality. Therefore, APF-R can be precisely tuned to achieve the best sharpening and to retain the natural impression of the image. The result is a three-dimensional effect in the picture.
Requirements:
Adobe Photoshop CS5 / CS6 Extended (or higher).
All videos were recorded on Wacom MobileStudio Pro 16inch (more information) + Adobe Photoshop CC 2017.
usage
Additional APF-R Informations
I have developed this processing the last 5 years, with testing and learning and trying one many different images ( all kind of astronomy images and daylight images). APF-R is a Adobe Photoshop processing, and it can be recorded as an Photoshop action for every privat system. ( you can record your one action at photoshop!). APF-R is very flexible, so you have to built it for your system, because there are so small adjustments that changes the final APF-R result.
DEMO APF-R sessions
Recorded at Wacom MobileStudio Pro / 4K (more information) + Adobe Photoshop 2017 CC
The main processing video shows the APF-R basic, this is the way how to do it. There are additional videos for adjustments the APF-R and for optimization. APF-R is connected to your seeing and oversampling. APF-R smart objects always combined from all Gaussian blur layers! The different between is the smart objects stacking - combing mode and layer transitions / layer blending. So attention! you have your original image + 1st smart object = 6 full resolution image + 2nd smart object = 6 full resolution image + 3rd smart object = 6 full resolution image that are 19 full resolution images need for APF-R. APF-R is often saved as big photoshop file (.psb) not at .psd file!
Standard APF-R (Smart object + layer blending)
1st - median + soft light / 2nd - max + soft/hard light / 3rd - min + soft/hard light. If the median layer is changed to copy the effect ist stronger. If the max or(and) min layer is changed to bright light it is stronger. A bit noise is ok, because with the last smart object built form median / max / min layer the noise is normalized.
APF-R important notes
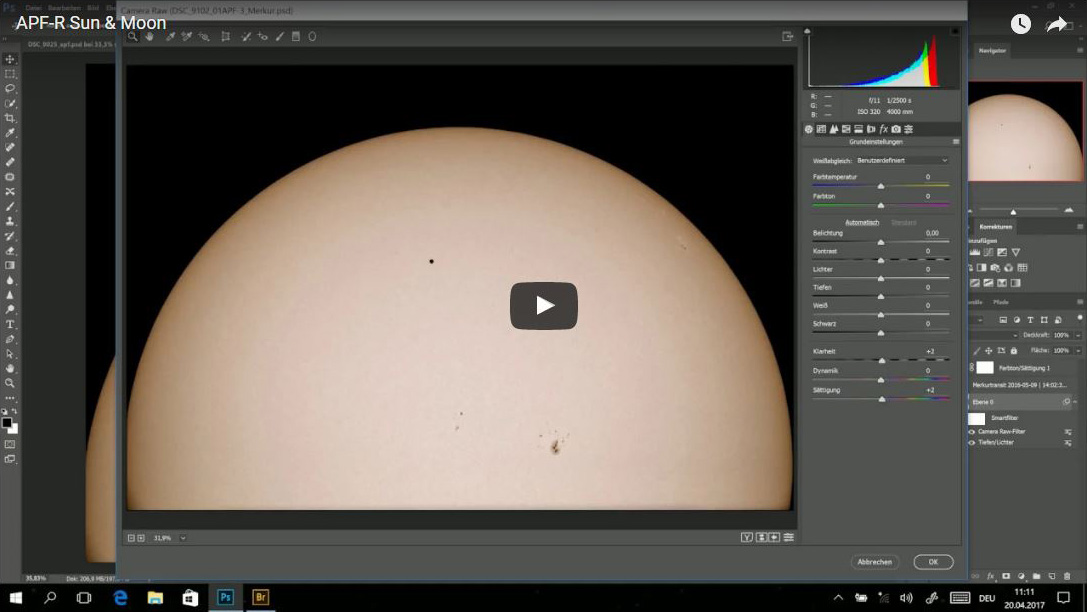
Oversampling is calculated from your pixel resolution and your local seeing. For example: if your system provide a pixel scale by 0,8" (arcsec) and your seeing is 2" (arcsec) so your oversampling is x2,5. (2 divided by 0,8 = 2,5 oversampling). If your oversampling is from x1 - x2,5 you should use 1,2-1,5 pixel Gaussian blur for the first layer. 1,2 pixel the APF-R result is softer with 1,5 pixel the APF-R is stronger. From x2,5 pixel oversampling use 1,6 - 1,9 pixel Gaussian blur (more then 1,9 pixel also can be used, you have to find this for your system!). Watch the video: Sun & Moon! - here I show some different gaussian blur examples!
If your image have a very good resolution you can use for the first layer (0,6 - 1,1 Gaussian blur) so it is a sub pixel sharpening function ! With this 1st layer (0,6 - 1,1 pixel) you should use 5 to 7 copies to your background ( =original image) from 25 - 30pixel (and more) Gaussian blurring APF-R brings out background details / structure from your image! It always depend of your choice!
From the first gaussian blur layer you can calculate all following APF-R layers
APF-R steps for example: oversampling more the x2,5
1st: 1,6 (1st copy from your background layer) x2 = 3,2 ( 2nd copy from your background layer - next Gaussian blur layer)
2nd: 3,2 x2 = 6,4 (= 3rd copy from your background layer)
3rd: 6,4 x2 = 12,8 (= 4th copy from your background layer)
4th: 12,8 x2 = 25,6 (= 5th copy from your background layer)
5th: 25,6 x2 = 51,2 ( = 6th copy from your background layer) going deep into the background
6th: (not always necessary!) 51,2 x2 = 102,4 ( = 6th copy from your background layer) going very deep into the background
Note: the SNR of your image is important, better SNR means better result. There is no extra noise added to the image but APF-R show deep details and information.
NB.: the first layer describes all other APF-R layers! It is very important that this layer is exactly matched to your image and system (System = Optic + CCD). Changing the Optic ( focal length also maybe faster f/ ratio) or the CCD or the back focus -> you have too process APF-R again for the new situation.
APF-R measurements - the histogram!
Define the part(s) where APF-R is active at your image! After all smart objects are made APF-R is working (= 100% active) for every pixel at your image. How two change this?
A.) Layer + mask modes with Photoshop (using this as known and shown at the videos) - perfect with Wacom tablet ( Mobil Studio Pro have 8000 pressure levels for the mask and grey shades!)
B.) With Layer blending or/by layer fade by processing every pixel, connected to the histogram of your image.
Canal Calculations
Offset changing, changes the brightness, when you past the alpha canal back to the APF-R layer file. Normally I use 125 - 128 for the Offset, this is the mid of the grey shades. If you choose a value below 120 the final APF-R blur layer is darker if you use a value above 130 the final APF-R blur layer is brighter after you selected / choose the blending mode for this APF-R gaussian blur layer.
partner
apf-r partnership
Our partners do not only support APF-R by providing their great technology and products which are used for creating APF-R images, they also make it possible, that APR-R can be shared for free to everyone. So thanks a lot to our great partners!
 |
 |
 |
videos
1. Intro
With this intro I am explaining what APF-R is and some additional informations about APF-R. That you can use APF-R for your images, you need Adobe Photoshop CS6 extended or higher. My recommendation is Adobe Photoshop CC 2017. All videos recorded on a Wacom MobileStudio Pro 16 inch tablet (more information).
2. APF-R Basic (C14 Edge HD F7.6 + FLI ML 16200 bin2 - Lum data / 0,85 arcsec per pixel)
The APF-R Basic is my processing instruction with Adobe Photoshop. With this video I show all steps to create a APF-R sharpening. Go thru this video first and the watch all other videos later. APF-R is very flexible, so you have to understand the basic idea for a perfects result. After you found your APF-R for your system (optic + ccd) you can record your action, for your set up.
3. Sunflower (C14 Edge HD F7.6 + Nikon D810A / 0,36 arcsec per pixel)
The sunflower demo is a example with big oversampling data and shows some individual processing with my image. Special part is my variation of layer blending, that adjust the contrast and optimize the details.
4. NGC 1977 - running man - Adam Block / APF-R extended
This wonderful image of the running man from Adam Block, shows a possibility with final processed data. I used a jpeg file and start with my APF-R. I am adding also a gaussian blur layer over 50 pixel, that goes deep into the background. With this video I show also APF-R extended, the final combination of six gaussian blur layer's multiply by three smart object's to one smart object plus the possibility of layer blending.
5. Orion 180 panels - David Lindemann / APF-R extended
This beautiful huge mosaic by David Lindemann is my example for low oversampling (up to x2 - x2,5) and also the APF-R extended version. Here I show a gaussian blur layers with more the 70 pixels, for deep, weak and wide structure with a good SNR. Finally all combined to one smart object, layer blending and masked with Adobe Photoshop CC 2017.
6. Moon - Sun spots + Solar / Moon eclipse - not multiplied by 2
With this video, I show a different way of choosing the gaussian blur layers for APF-R. The 1st Layer is below 1 pixel so I can tough good and sharp image data and optimize this. I recommend this also for daylight images and slightly out of focus images. A soft blur for the 1st layer is the secret!
images
Adobe Photoshop Actions - Is there a action planned for APF-R?
After you have watched all APF-R videos, you may have noticed, that every system and image is individual. The result is different, if you change the first gaussian blur layer. This is the same for astronomy and daylight images.
Astronomy images: It is important that you know your system and also the seeing conditions for the image, then you decide the ARF-R gaussian blur layer - if your conditions are always the same, you can record your APF-R Action for your system. From this moment you can always use the Action for your image ( If, optic + CCD + seeing stays the same).
Daylight images: For daylight images, the DSLR (resolution + noise + dynamic range), the quality of the optic and focal length change the 1st gaussian blur of the APF-R processing. I am planing different processing videos for daylight images, so check the APF-R website regularly for new videos. This is also very interesting for the Solar Eclipse on the 21th of August for North America. Additional I will add a video the shows how to create UDI content - so stay tuned and I think / hope you like it!
Back to the question: At this time there is no action planed, because there are to much variation for APF-R. So please check all videos and then built your own APF-R action for your system!
Daylight #1) Horseshoe Bend / Nikon D800E + AF-S 16-35mm f4 VR / APF-R + UDI
Load the image in Photoshop and then activate the layer with the APF-R! Disabling/enabling the layer shows the difference between the original and the processed image.

Daylight #2) Cloud Demo APF-R 5 Layers + UDI
(Video tutorial will follow! Because of the fine details, extra processing special for the solar eclipse 2017-08-21)
This demo shows that APF-R goes even further into the depth and gets more from the picture, even though the original image, taken with a Nikon D800E + Sigma ART 135mm f1.8 lens @ f3.5, already has a very good resolution.
Load the image in Photoshop and then activate the layer with the APF-R! Disabling/enabling the layer shows the difference between the original and the processed image.

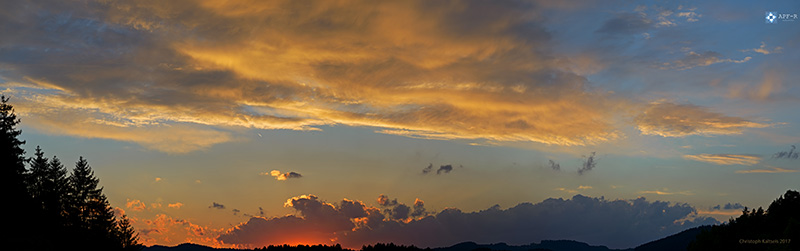
Daylight #3) Just the sunset
The details are simply beautiful and nothing is lost in processing, though the structure is significantly improved (download image has 15000px width!).
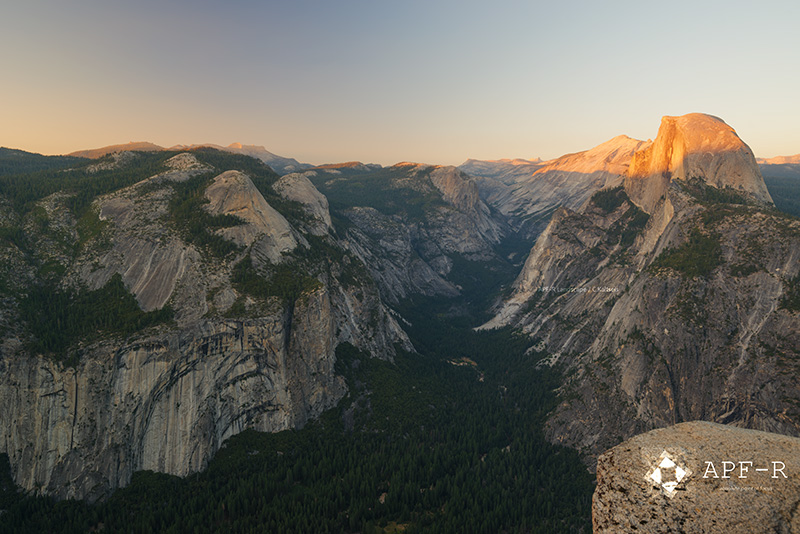
Daylight #4) Yosemite APF-R + UDI-s
Original image is not perfect and need to be corrected. Significant increase in details and information seen in the picture.
Daylight #5) APF-R high resolution data and 0.6 pixel blur radius
(Video tutorial will follow! Because of the fine details, extra processing special for the solar eclipse 2017-08-21)
In this demo image APF-R goes into the depth and is improving fine details without introducing sharpening artifacts. The image impression has been preserved and APF-R gets details, which are slightly blurred in the original image, back into the sharpness. It is the full resolution of the D810A and Sigma ART 135mm f1.8 + SB910 flashlight.
Load the image in Photoshop and then activate the layer with the APF-R! Disabling/enabling the layer shows the difference between the original and the processed image.
downloads